
n8n Local Setup (Windows) with OpenAI-Compatible Gateway
Prerequisites
- Node.js installed
- n8n installed globally
Initial Account Setup
On first launch, n8n will prompt you to create an owner account. Fill in:- Minimum 8 characters
- At least 1 uppercase letter
- At least 1 number
Connecting n8n to an OpenAI-Compatible Gateway
This method works with:- ZnapAI
- Any OpenAI-compatible endpoint
Step 1: Open Chat
From the left sidebar:Step 2: Select a Model
Click:Step 3: Create Credentials
When prompted, create a new credential. Enter: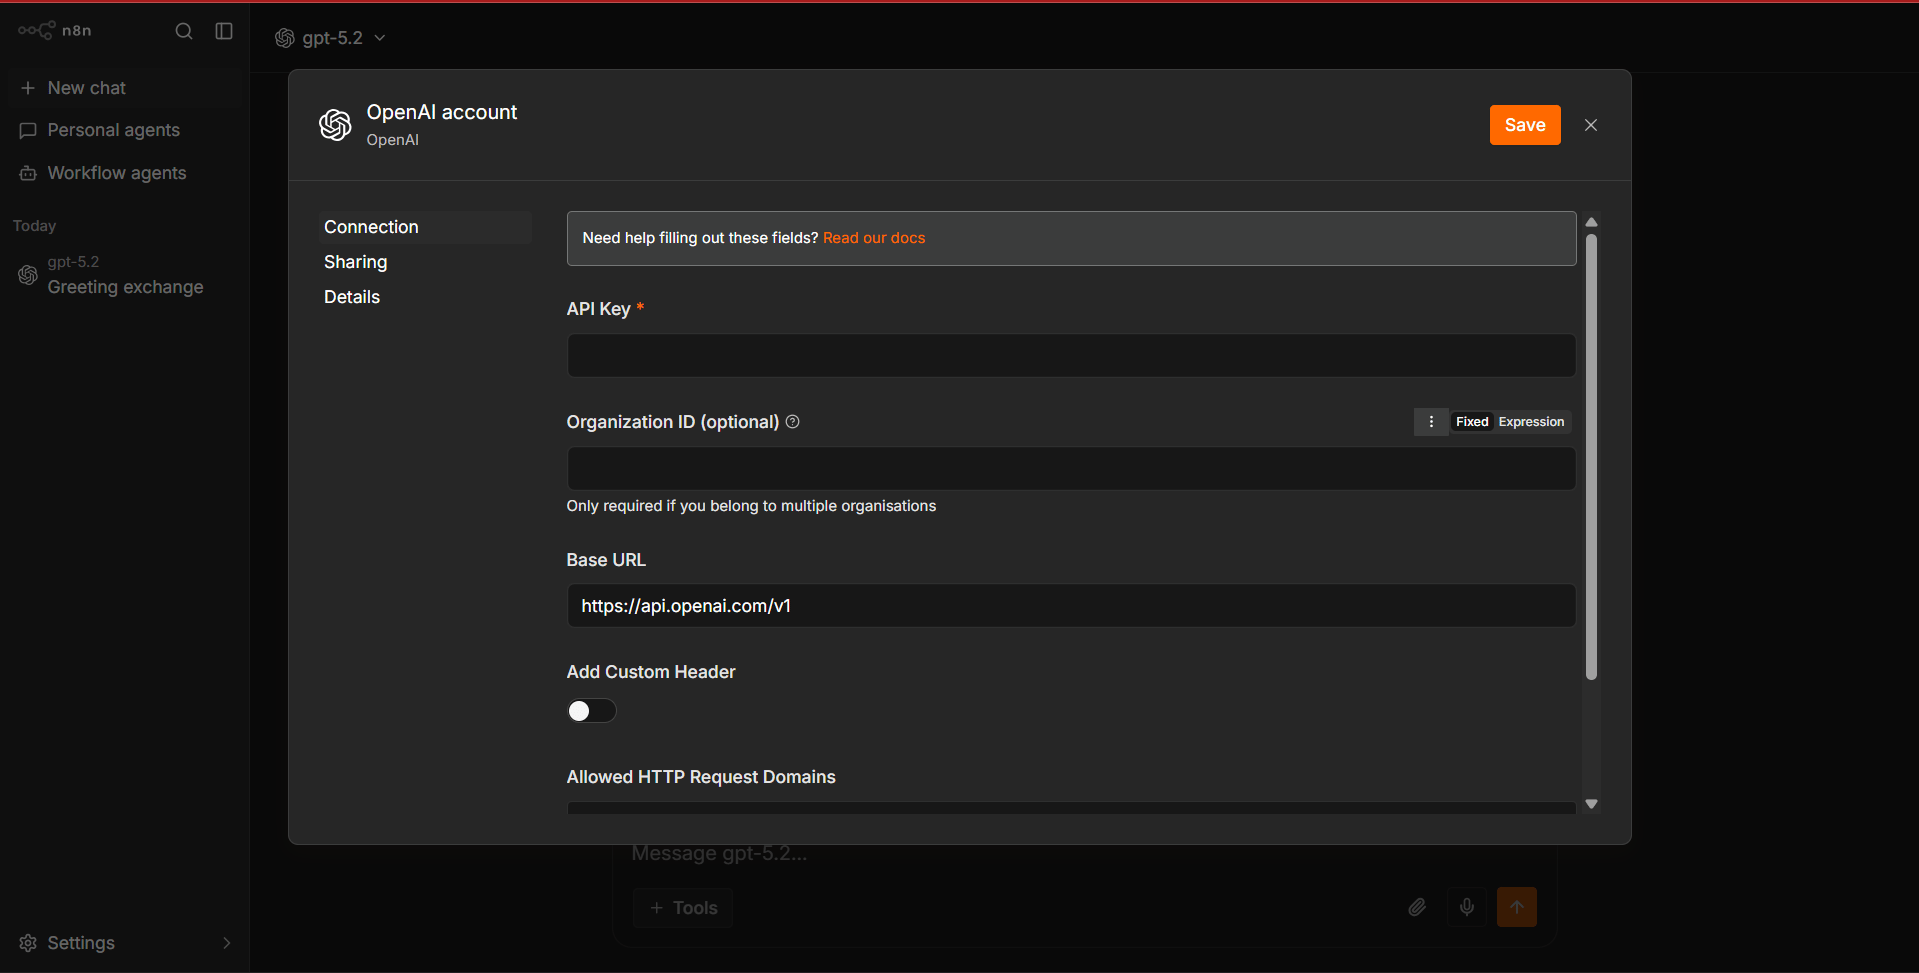
Step 4: Save Credential
Click:Step 5: Test the Connection
Send a message in the Chat interface. Example:- n8n sends the request to your gateway
- The gateway routes the request to the selected model
- The response appears in the chat
Verification
If using ZnapAI or any other Gateway Provider, monitor the gateway logs. You should see incoming requests from n8n whenever a chat message is sent. Example validation flow:Next Steps
Once chat is working, you can build workflows and AI agents. Typical architecture:- GitHub Issue Summarizer
- Slack AI Assistant
- CRM Lead Qualification Agent
- Customer Support Automation
- RAG Knowledge Assistant
- Email Classification and Routing