
OpenClaw Setup on Windows with Custom Provider
1. Install OpenClaw
You can install OpenClaw using the official installer or via npm.Option 1: Official Installer (Recommended)
Windows (PowerShell)
macOS / Linux
Option 2: Install via npm
Requires Node.js to be installed.Verify Installation
2. Locate the Configuration File
Open:openclaw.json with:
If you need to add additional models, ensure you add them to both the
agents.defaults.models object and the models.providers.znapai.models array in the JSON file using the same format as gpt-5.3-codex.3. Configure API Key
Set the API key as an environment variable:For Current PowerShell Session
Permanent Configuration
4. Validate Configuration
5. Start OpenClaw Gateway
6. Verify Gateway Health
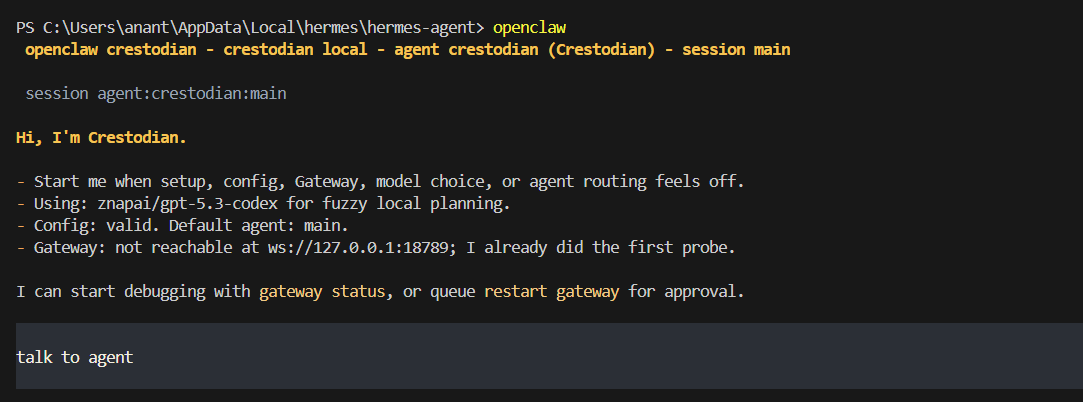
Open another terminal:7. Launch OpenClaw
Troubleshooting
JSON Syntax Error
Example:Unknown Model Error
- Provider name is
znapai - Default model is
znapai/gpt-5.3-codex - Model exists under
models.providers.znapai.models[]